Orepath Elements
Orepath Elements is the central platform for all Orepath products. All projects are initiated through Orepath Elements, which functions as a cloud-based repository. This system ensures that all organisational projects are securely stored and readily accessible, facilitating effective management and collaboration.
1. Register as a new user
Please reach out to us to be added to your organisation's user base. Once you've been added, we will send you a download link similar to the one shown below. Once you have been provided with the link, simply download the installer.
https://orepathreleases.blob.core.windows.net/public/Orepath/Orepath.Elements.Installer.XX.Y.ZZZ.msi
If you have a previous version of Orepath Elements installed, simply download and install the new version to upgrade your existing installation.
2. Installing Orepath Elements
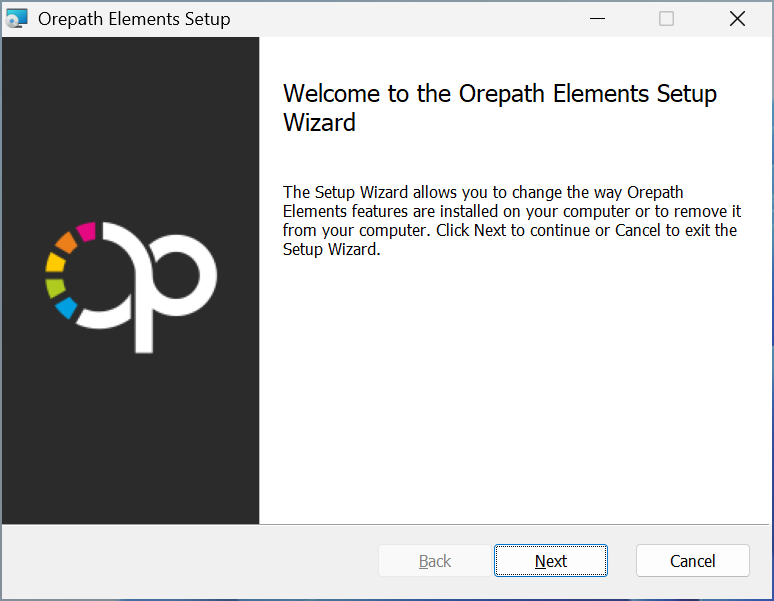
After downloading the installer, launch it by double-clicking the file.
This will open the setup wizard, designed to simplify the installation process by walking you through each step of the installation process.
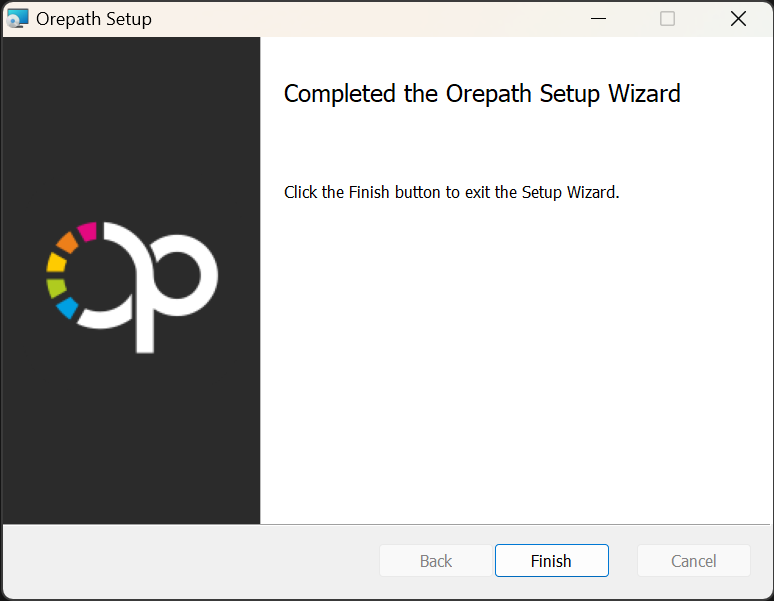
Follow the setup wizard to complete the installation. If the process is successful, you should see the following confirmation.
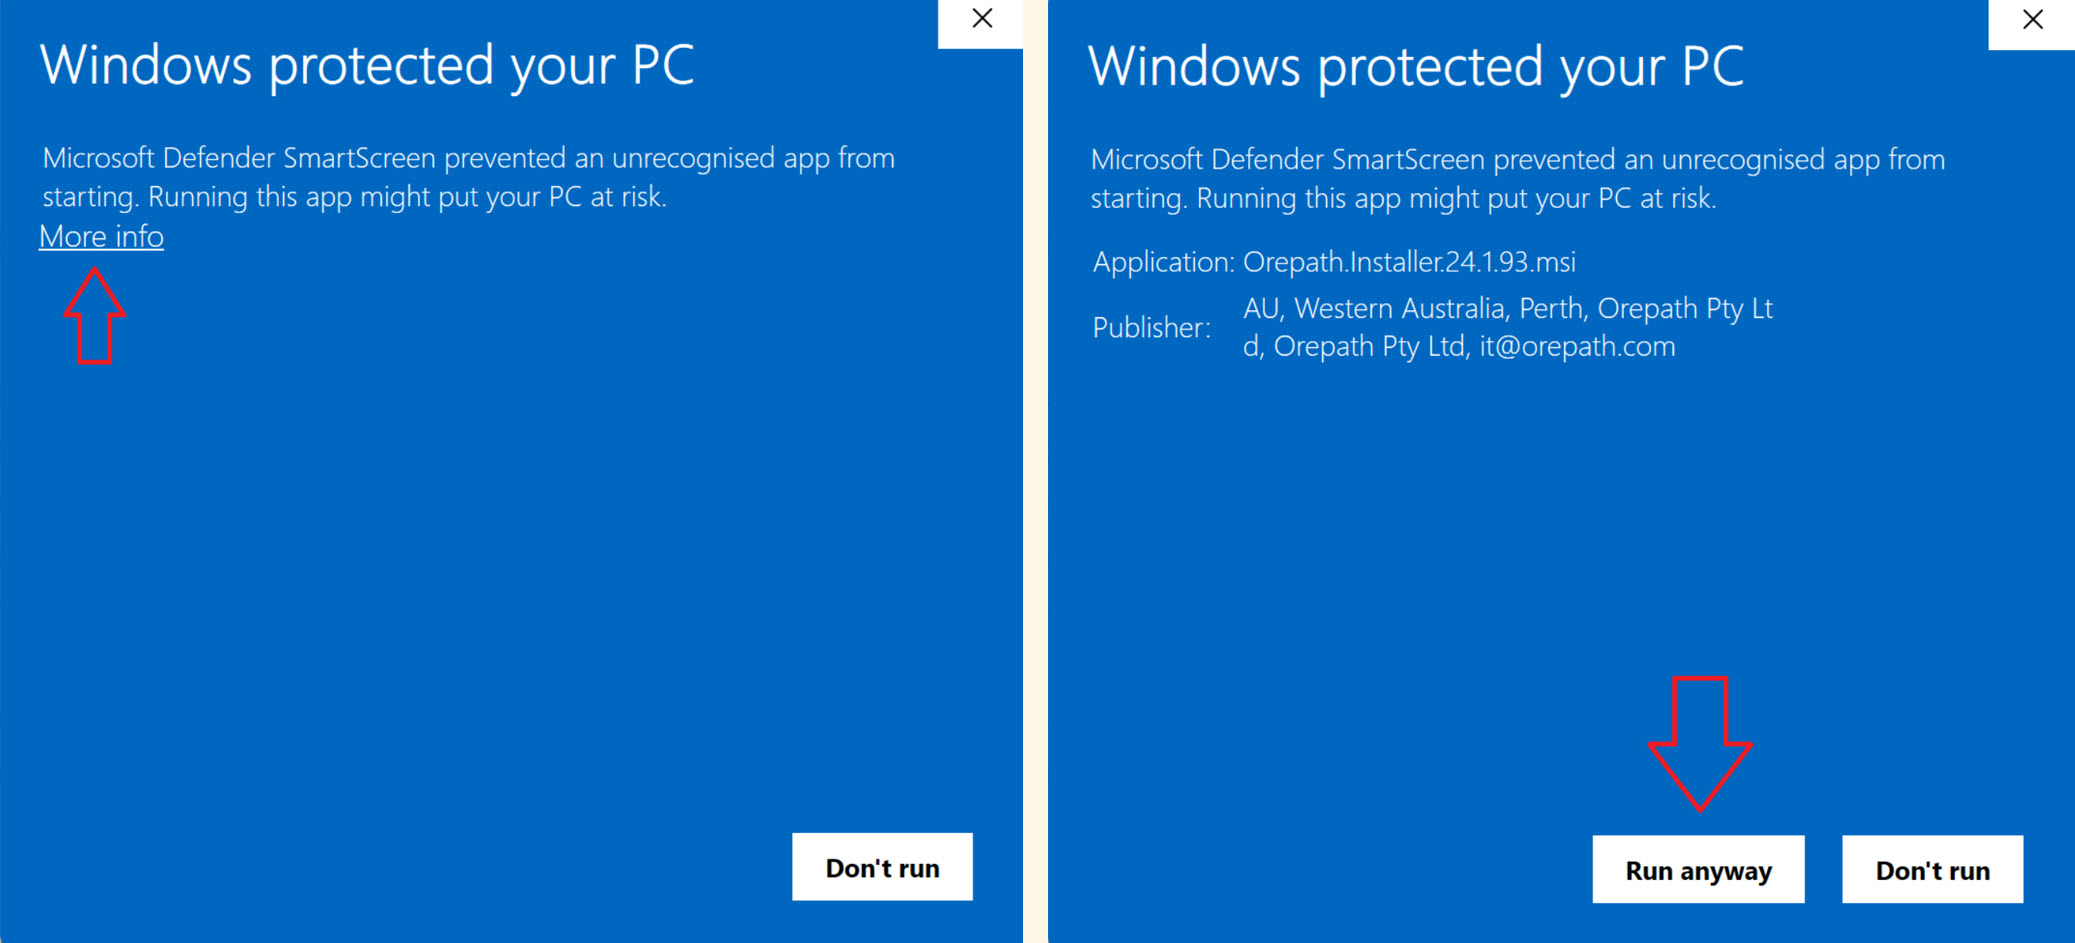
It's possible that you might get Microsoft Defender protection message. If this happens, simply click More info and then Run anyway.
3. Launching Orepath Elements
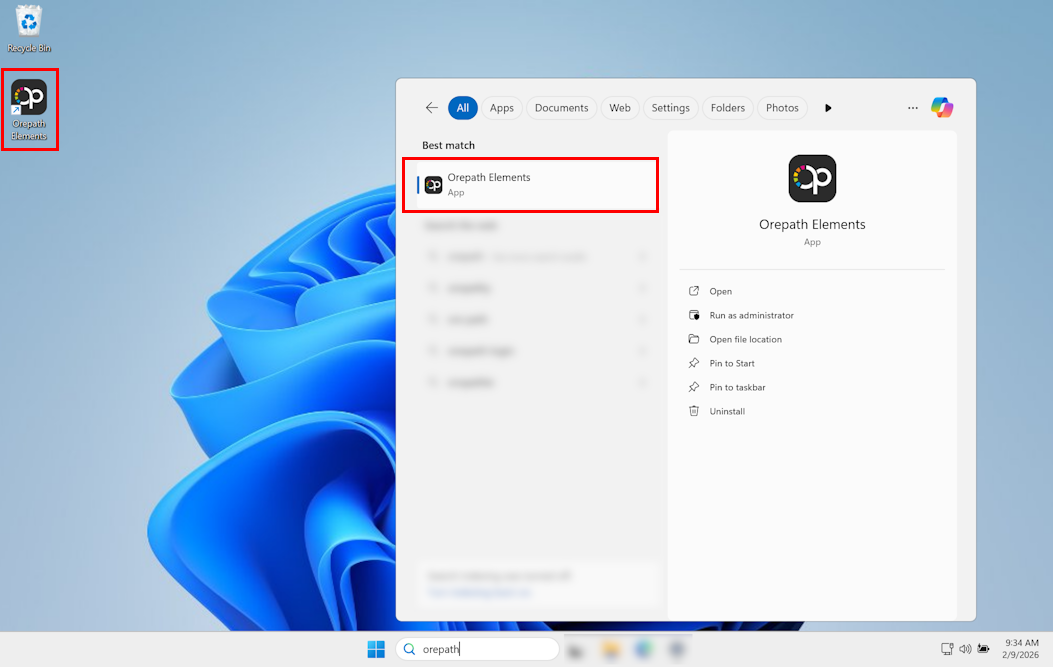
To open Orepath Elements, double-click on the desktop shortcut created during installation or search for "Orepath" in the Windows search bar.
If Orepath Elements fails to start up, see the next section on Installing Dependencies.
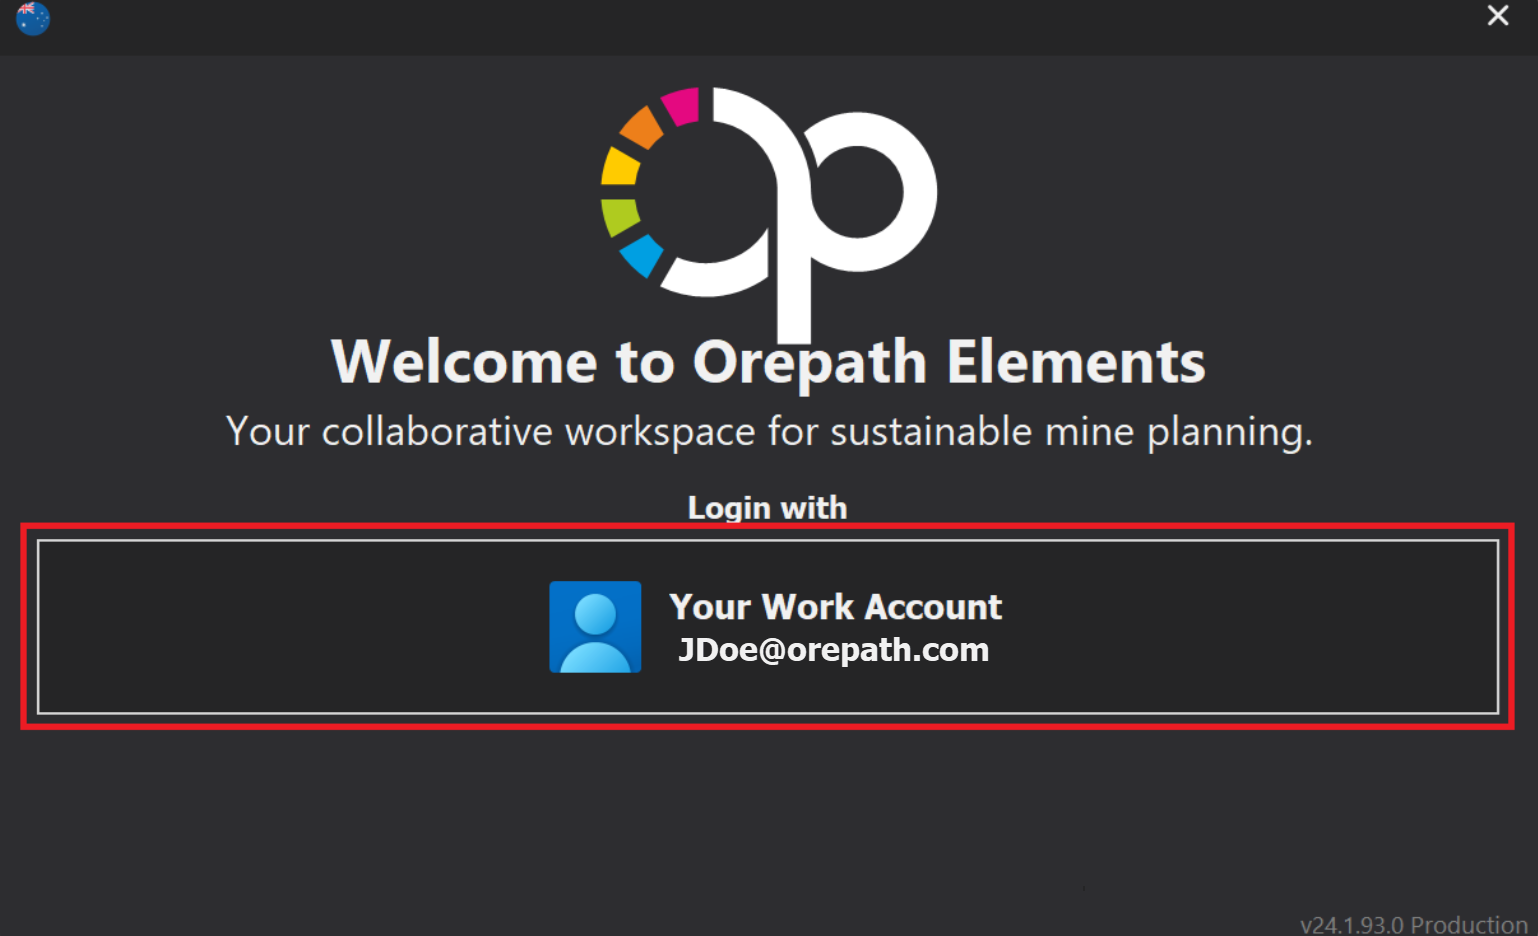
Upon launching, you should see the following screen. Authentication is managed through Microsoft work accounts and Azure. Azure ensures secure authentication and access management, allowing only authorized users to access the application. To begin the login process, click on the 'Your Work Account' button.
A browser should then open up where you can choose to login with a Microsoft Work Account or alternatively a Google Work Account.

Once authenitcated and logged in, a screen similar to the one below should appear.
4. Installing Dependencies
Orepath Elements requires the Microsoft .NET Framework to run. If this component is not already installed on your system, the software will prompt you to install it when you first launch the program.
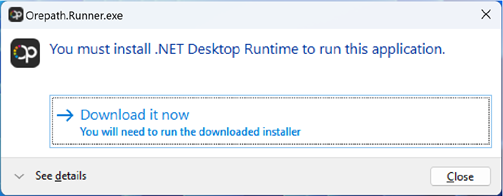
Simply follow the on-screen instructions to download and install the .NET Framework.
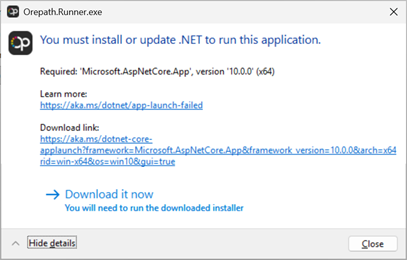
You will need to complete this process twice - once for .NET Windows Desktop Runtime and a second time for ASP.NET Core Runtime. After the first component is installed, run Orepath again and it will prompt you for the ASP.NET Core installation. Again follow the on-screen instructions to install ASP.NET Core.
If you don't have permissions to install system components on your computer, you may need to ask your IT department to do this for you. You will need to ask them to install two components:
- .NET 10.0 Windows Desktop Runtime (x64)
- .NET 10.0 ASP.NET Core Runtime (x64)
These can be downloaded from the following links, which will download the latest 10.0.x version (eg 10.0.2):
- https://aka.ms/dotnet/10.0/windowsdesktop-runtime-win-x64.exe
- https://aka.ms/dotnet/10.0/aspnetcore-runtime-win-x64.exe
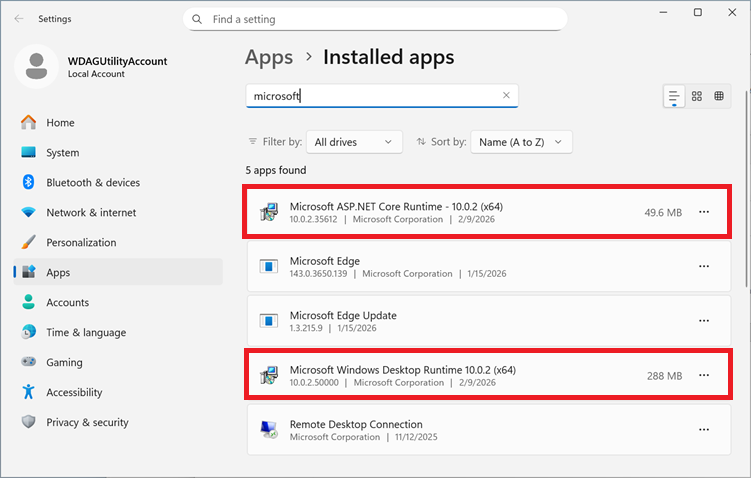
You can check if you have the required components installed via Add or Remove Programs. Filter for 'microsoft' and check that you have both the ASP.NET Core Framework (x64) and Windows Desktop Runtime (x64), version 10.0.x.
If you get the following error when starting Orepath Elements:
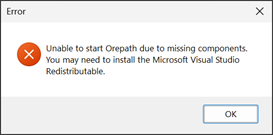
Then you (or your IT administrator) will need to install the Microsoft Visual C++ Redistributable, which you can download from here:
Once the installation of all dependencies is complete, you can proceed with launching Orepath Elements.
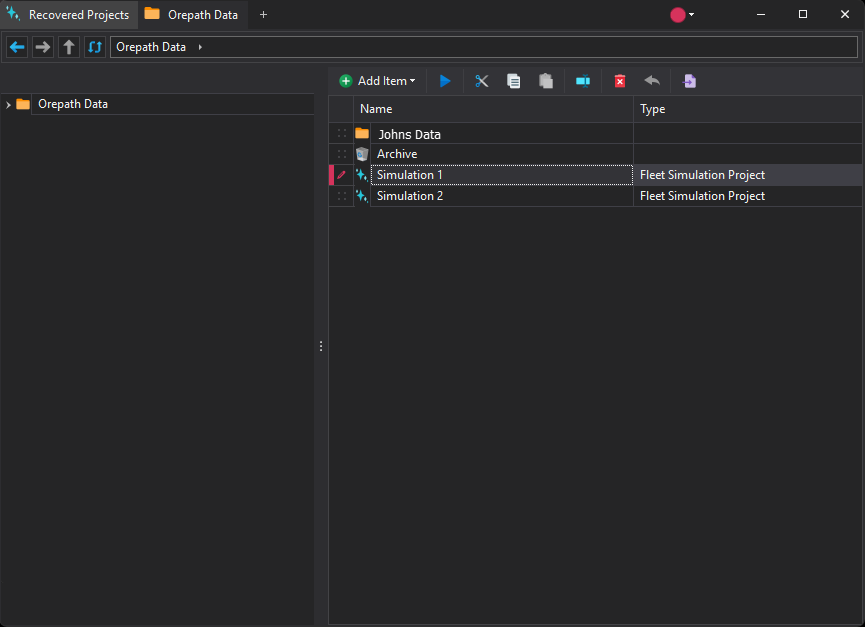
5. Navigating Orepath Elements
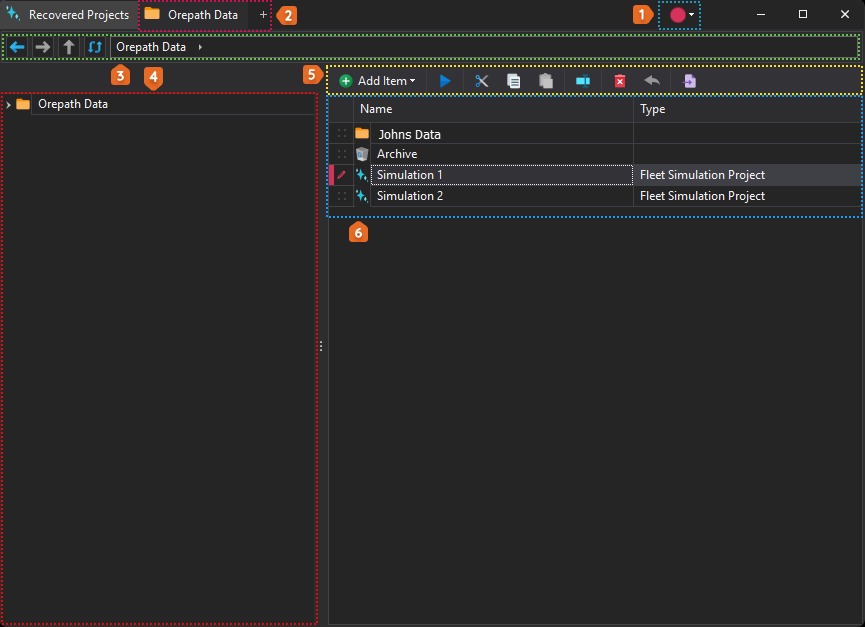
The UI features several key components, each with a distinct purpose. The image and table below offer a high-level overview of these components and their functions.
| Item | Feature | Description |
|---|---|---|
| 1 | Account control | Use this dropdown button to manage your account, including logging out of Orepath Elements. |
| 2 | Tabs | Create new tabs by clicking the "New Tab" button at the top of the interface. New tabs automatically open based on your organization's parent directory, enabling easy multitasking. |
| 3 | File Path | Displays the current directory path with controls for Refresh, Back, Forward, and Up to help manage and navigate within the file system. |
| 4 | File Tree | Shows the hierarchical structure of files and directories. Navigate through your organisation's project file system by selecting different locations within this tree. |
| 5 | Toolbar | Provides functionalities for creating, deleting, and copying projects and folders, enabling efficient project management. |
| 6 | Project Tree | Displays the structure of projects within the selected directory, offering a clear and organized view of your project hierarchy. |